Managing Contacts
In order to send a text message, the system must be provided with a contacts list (group) to send a message to. There are many ways of adding contacts.
How to Add a Contact
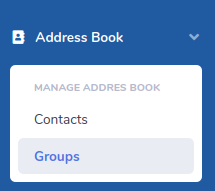
To add a single contact manually, find a menu item labelled Address Book on the left-hand side of the page. Click on it to expand it and you will see another option labelled Contacts.
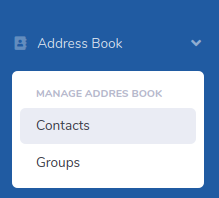
Contacts Menu
Click on the Contacts option to open the contacts page. A page with 3 tabs and a button like the ones below will present itself:

Contacts Options
These options allow you to perform the following functions:
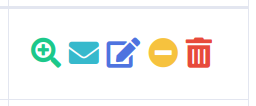
View Contacts: All contacts will be listed here with 20 items appearing per page. Contacts are sorted alphabetically. From this list of contacts, you are provided with controls to the right of each contact that allow you to:
- View a contact’s details
- Send a message to an individual contact
- Edit a contact
- Unsubscribe a contact from receiving text messages
- Delete a contact
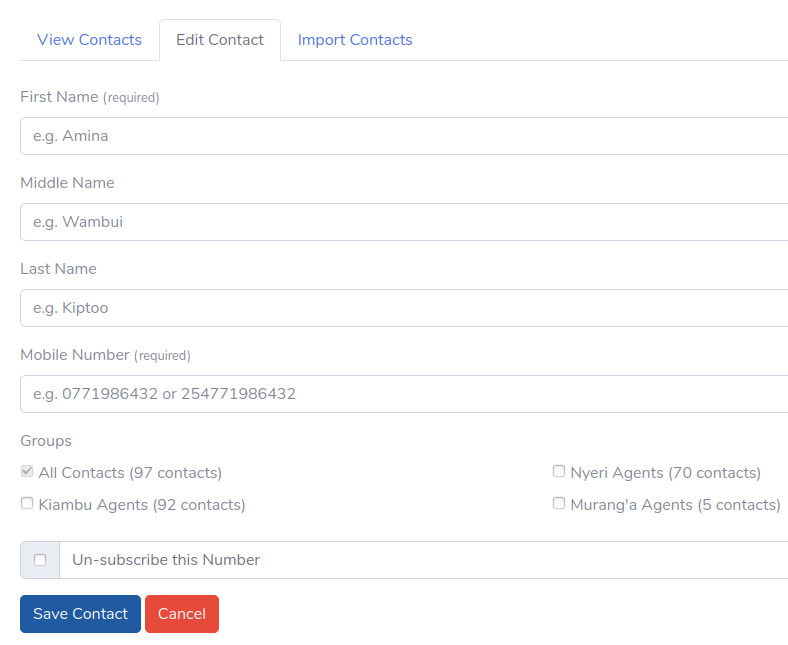
Edit Contact: When you select a contact for editing, it will be loaded onto this page.
Import Contacts: Allows you to import multiple contacts from a CSV [1] Spreadsheet.
New Contact: This is the item of interest to us at this time. Click on this button to add a new contact.

List View - Single Contact
When creating a new contact, you will be required to provide the following information:
- First Name, Middle Name and Last Name of the contact. Only the first name is required.
- Phone Number. This can start be with or without the country code. No spaces, plus symbol or any other non-digits are allowed.
- Groups you want to add the contact to. If you have not created any groups yet, the contact will be added to the default All Contacts group (this will be the only option available). You can edit a contact later and add them to a group.
- Un-subscribe this Number allows you to flag a contact as blacklisted from receiving text messages. You can select this option if a contact has requested to be removed from your mailing list.
Create New Contact
Once you have saved the details of a contact, you can view the contact by clicking on the magnifying glass icon at the extreme right of the contact’s name on the View Contacts page.

View Contact Details
How to Edit a Contact
Now that you have created a contact, you might want to make changes to it later on.
Go to the contacts list view and click on the edit button alongside the contact (pencil icon: see single contact). The edit form will be loaded with the contact information. Make the changes you need to and click on Save Contact.
How to Delete a Contact
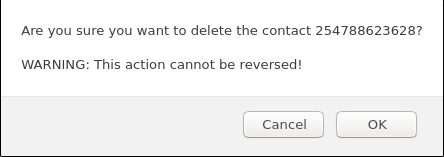
To delete a contact, go back to the contacts list view and click on the delete button (trash can icon: see single contact). You will be asked to confirm the delete action. Please note that this action cannot be reversed.
Confirm Contact Deletion
How to Unsubscribe
When a contact is unsubscribed, they will not receive any messages from you. Unsubscribing can be done in two ways:
Automatically
The first message that you send to your contacts comes with unsubscribe instructions appended in compliance with CAK regulations (see Unsubscribe Notice).
Once a user has unsubscribed in this way, you can no longer send them any messages as your sender ID is added to their blacklist by the network provider. If the system detects that the contact has blacklisted your sender ID, it will automatically flag the contact as unsubscribe so that you do not incure the cost of sending them messages that are destined to fail.
The system may also unsubscribe a contact if message delivery fails due to a permanent condition, e.g. if the number is no longer active.
Manually
A user may contact you and request that you stop sending them messages. You will need to find their phone number in your contacts list either through the Search Page (see How to Find a Contact) or the View Contacts page.
Click on the unsubscribe button alongside the contact. This is a yellow button with a white horizontal line next to the delete button (trash can icon).
User Controls
Important
Do not bombard your customers with too many messages as this increases the likelihood that they will blacklist you.
Managing Groups
Groups are the primary way in which you organise your contacts. A group allows you to compose one message and send it to a large number of people.
Groups Menu
To manage groups, click on the Address Book menu on the left-hand side of the screen to expand it then click on Groups. This will open the group list view.
How to Create Groups
When you sign into your account for the first time, you will find an existing group called All Contacts. Each contact you create is automatically added to this group. You can create and manage your own groups to complement this group. This can be useful in enabling you to do things like maintain different mailing lists for customers in different geographical regions.
Once you have opened the Groups page, you will see a button labelled New Group. Click on it and fill in a name and description for the group.

Creating a New Group
The name is what you will use to identify the group; the description is a note-to-self as to why you created the group. Once you have created a new group, you can now add contacts to it.
How to Add Contacts to a Group
You can add contacts to a group in several ways:
- adding a single contact at a time
- importing contacts from a Google Contacts spreadsheet
- importing contacts from a custom spreadsheet
Adding a Single Contact to Group
When you are creating a new contact (see How to Add a Contact), the groups available to you will be listed and you can choose to add a contact to a group at this stage. The All Contacts group is selected by default and cannot be unselected.
You can add a contact to 1 or more groups at a time.

Add Contact to Group
How to Import from Google Contacts
If you use an Android smartphone synced to a Google account, chances are your contacts are already stored in the cloud. To know for sure, visit Google Contacts to see if your contacts appear there.
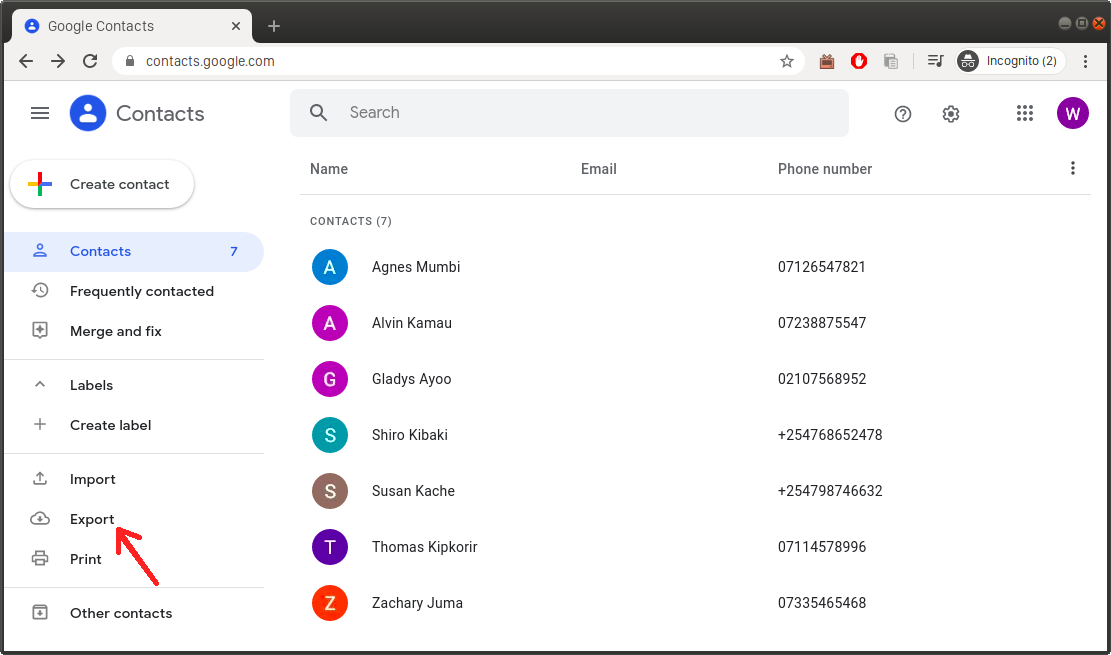
Click on Export button on Google Contacts
If you can see your contacts there, then that means you can export them to a spreadsheet and import them into SimpleSell SMS.
Click on the Export button and select the group that you want to export from. Be sure to select Outlook CSV as the export format.
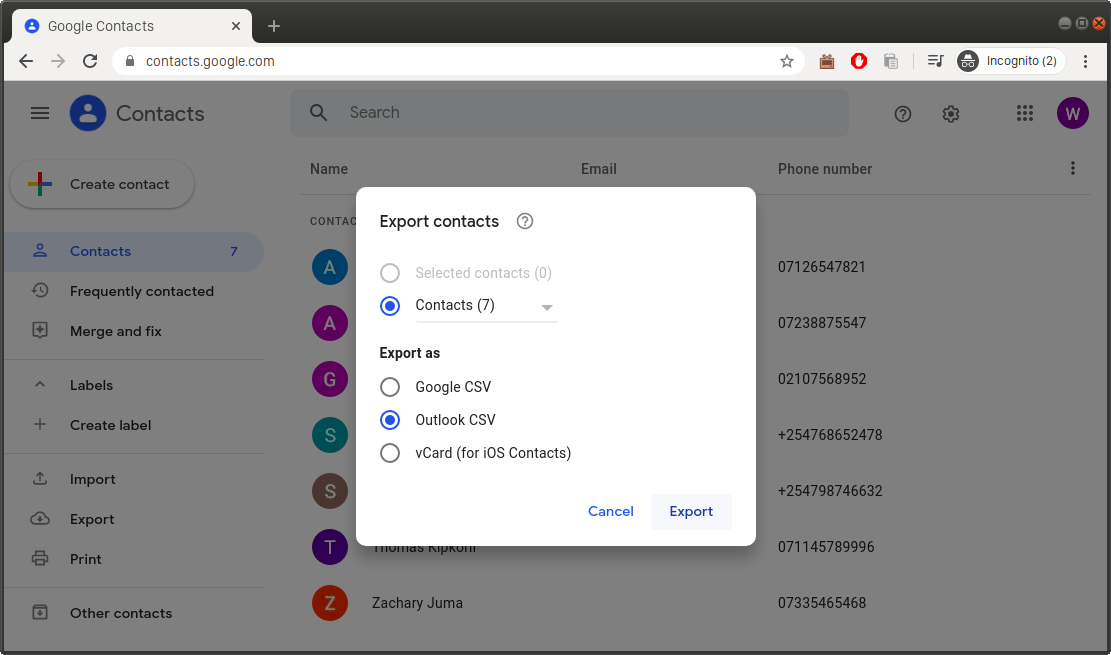
Selecting group and format
Once you have selected the export format, click Export. A file with the contacts should be created in your downloads folder.
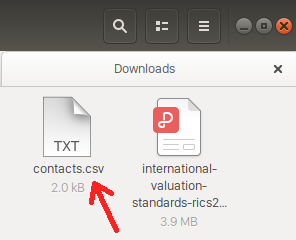
File in Downloads folder
Double-clicking on the file should open it in a spreadsheet program like Microsoft Excel, LibreOffice Calc, WPS Spreadsheet etc.
If this does not happen, open the spreadsheet program you have installed, select the option to open a file and browse to where the spreadsheet was downloaded to.
Open CSV spreadsheet
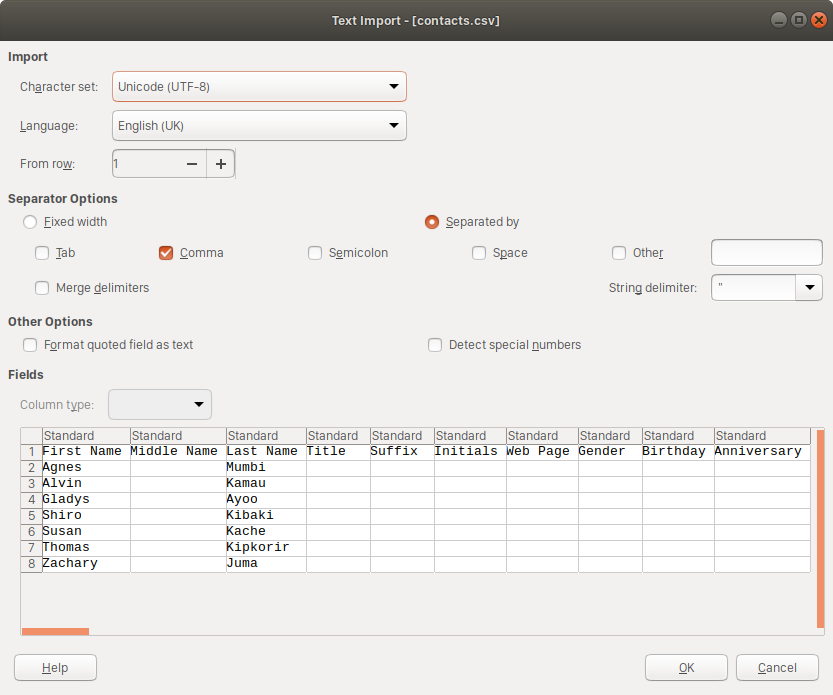
Make sure that the Comma option is selected under Seperated by and that the preview of the spreadsheet looks similar to the image above (content will vary).
There are 4 columns that SimpleSell SMS looks for when importing contacts: First Name, Middle Name, Last Name and Mobile Phone. All other columns are ignored.
Once you have opened the spreadsheet, look for a column named Mobile Phone and make sure that phone numbers you wish to import are in this column. If they are not, cut and past the phone numbers into this column.
Phone numbers can have a leading 0 (zero) eg. 07… or country code e.g. 254… and can only be Kenyan phone numbers. SimpleSell SMS will skip numbers with international prefixes.
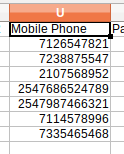
Mobile Phone column
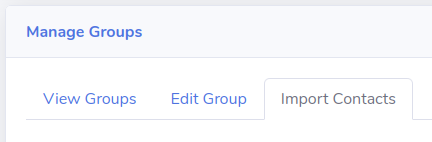
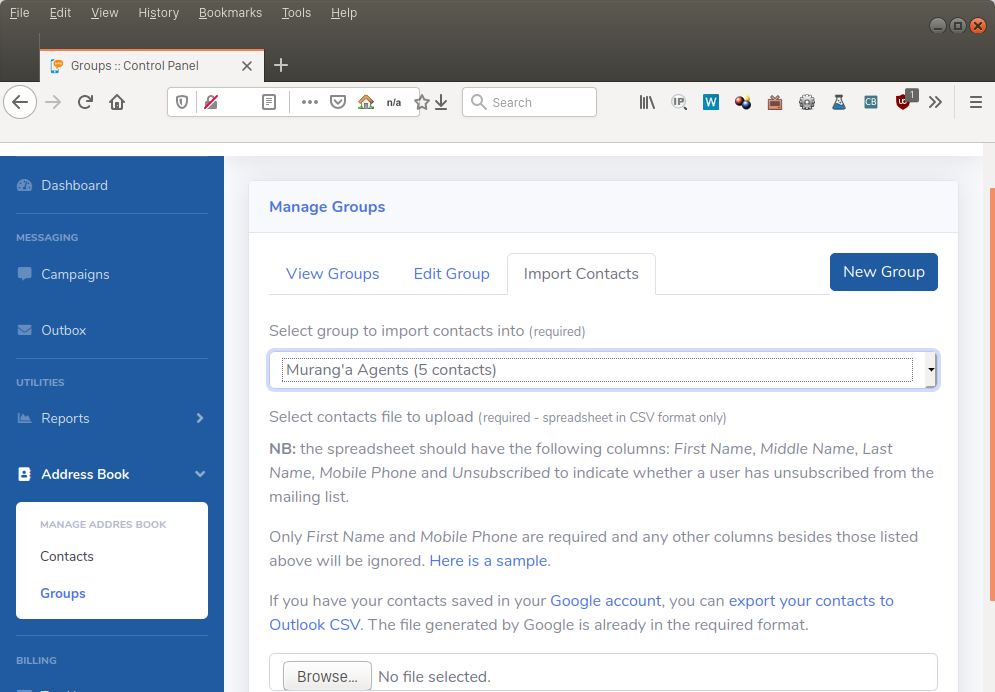
Once you have confirmed that the spreadsheet is formatted appropriately, go to the Addressbook menu on the left-hand side of the page and select Groups. The Manage Groups page will load. Click on the Import Contacts tab.
Import Contacts tab
Select the group that you want to import the contacts to. All contacts uploaded will be added to this group.
Select contacts group
Click on the browse button and select the spreadsheet file generated in the earlier steps.
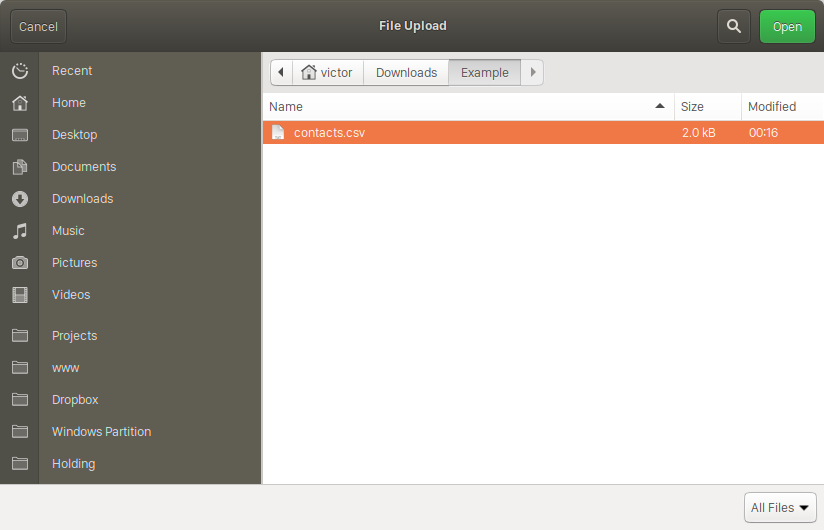
Select file to import
Once you have selected the file, click on the Upload Contacts button. This will transfer the file to SimpleSell SMS for processing.
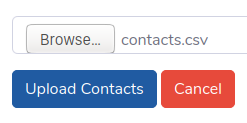
Click Upload Contacts
Once the processing is completed, you will receive a confirmation letting you know how many contacts were added successfully. You will also be notified in case of failure.
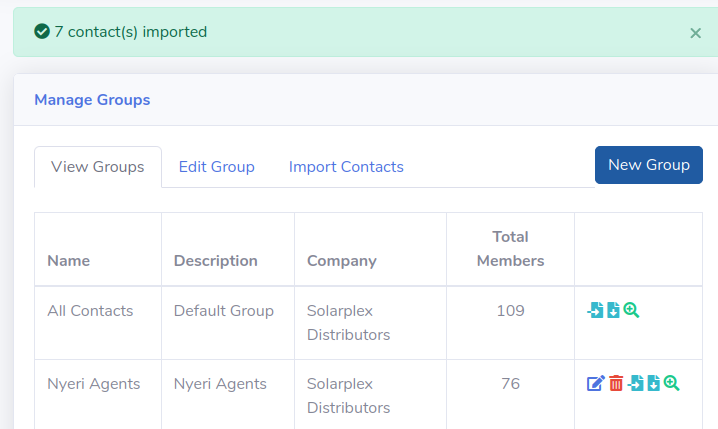
Import completion message
Important
Regardless of which group you select, the contacts will also be added to the All Contacts group.
How to Import Contacts from a Custom Spreadsheet
If you already had your contacts in a spreadsheet, you can import them into SimpleSell SMS by by saving the spreadsheet as a CSV file and ensuring it has the following columns:
- First Name
- Middle Name
- Last Name
- Mobile Phone
- Unsubscribed
With the exception of First Name and Moble Phone, all other columns are optional.
The Unsubscribed column is used to identify contact who should not receive text messages during and SMS campaign. If not provided, a contact is assumed to be subscribed.
You can download a sample spreadsheet on our website.
Once you have prepared your spreadsheet, you can import using the same steps outlined under How to Import from Google Contacts.
Important
You can import the same Google or custom spreadsheet several times without duplicate contacts being created. Any contacts already in your addressbook (or in the selected group) will be skipped. This allows you to use the same spreadsheet to add contacts to multiple groups. You can also add new contacts to the spreadsheet over time and the system will only import the changes the next time you upload it.
How to Find a Contact
To find a contact, use the search bar at the top of the page

Search Bar
You can search for a contact by name or phone number. From the search results you can view, message, edit, unsubscribe or delete a contact.
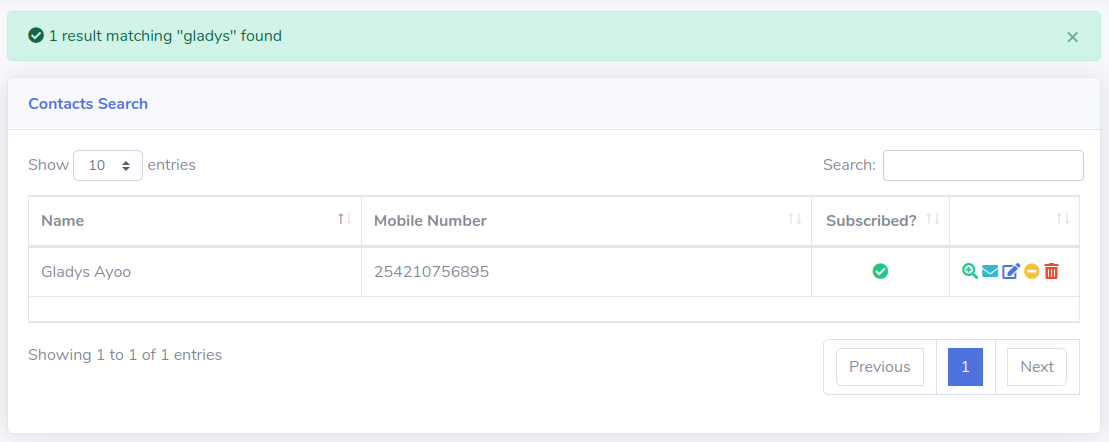
Search Results
How to Get Contacts from Mpesa Till/Paybill
The M-pesa statement from your Till or Paybill number can be a rich source of verified contact information. You can extract these contacts and import them to your SimpleSell SMS addressbook in a number of ways:
Manually
M-pesa makes availalble records of transactions covering the 6 months to date. To retrieve these records, you will need to logging into the M-pesa dashboard and generate a payment statement.
Instructions on how to do this will vary depending on the version of the M-pesa portal you are using and will be outlined in the operator’s manual.
If you are using the M-pesa portal at https://org.ke.m-pesa.com, log-in as an Operator or Manager and follow these steps:
- Select Browse Organization
- Select Review Transaction
- Select Account Type. Try Utility or Working account
- Select the Completed Transaction tab
- Select the start and end date under Date Range. You can go as far back as 6 months
- Click Search
- Select Export. Be sure to select CSV as the format
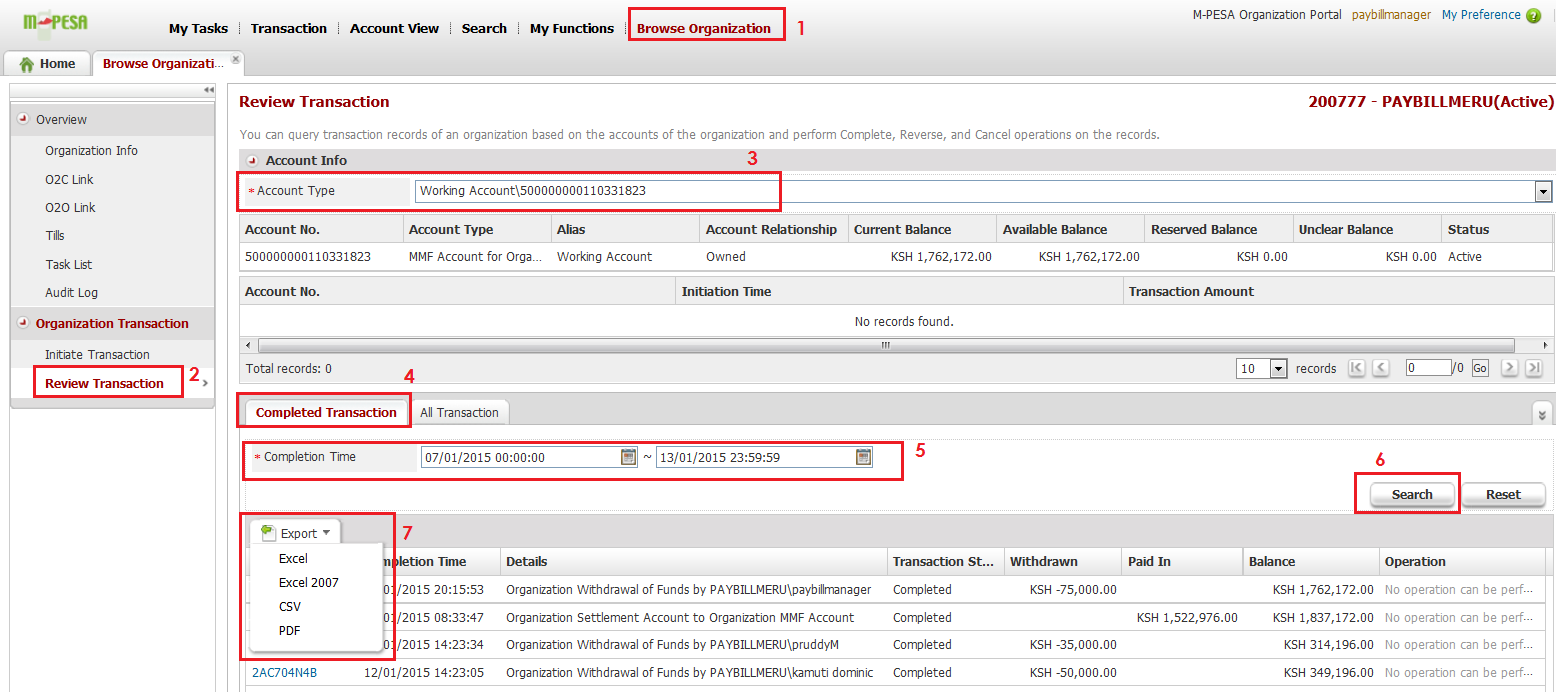
Exporting from M-pesa. Courtesy: Safaricom PLC
Once you have generated the statement, rename the columns and restructure the file to make it compatible with SimpleSell SMS e.g. separate name and mobile number information into different columns.
Follow the formating instructions and steps on importing as outlined in How to Import Contacts from a Custom Spreadsheet.
Integration for Automatic Update
SimpleSell SMS supports integration with M-pesa Till or Paybill for automatic updating of your addressbook from payment transacations.
If a person makes a payment and they are not in your addressbook, a new contact will be created automatically using the name and phone number information received from Safaricom.
You will be charged KES2 for each new contact created and saved. This is deducted from your tokens [2] balance.
If the contact was already in your addressbook, no contact will be created and you will not be charged.
With this feature enabled, you can send out text messages automatically when an M-pesa payment is received e.g. for payment acknowledgement. Normal SMS charges apply. You can configure what message is sent out when a payment is received through the account settings menu.
Account Settings Menu
Select the template to use for automatic payment acknowledgement (option labelled 1 below. see SMS Templates to learn how to create a template). You can also change the default group to which contacts that pay through M-pesa are added using the option labelled 2 below (see Managing Groups to learn how to create groups).
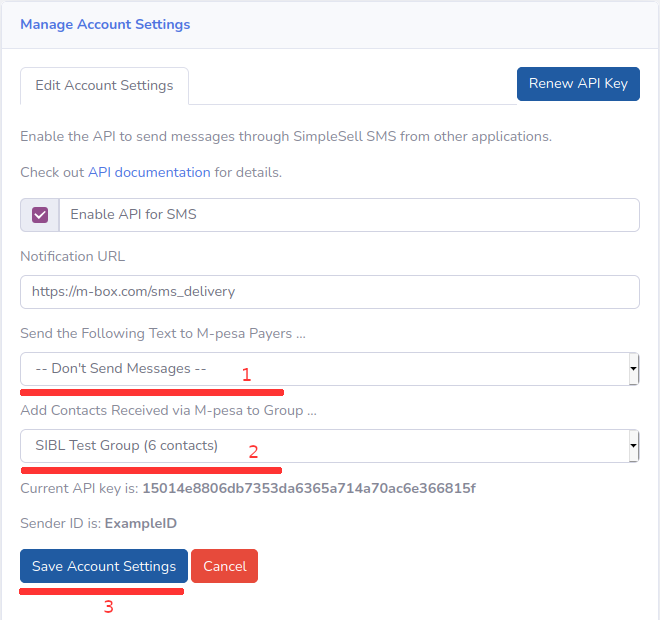
Account Settings Menu
Save settings by clicking on the button labelled 3 above.
Important
To use this feature, you must contact us to perform M-pesa integration and have it enabled.
Footnotes
| [1] | CSV stands for Comma Separated Values. This is a format used by applications like Microsoft Excel to store spreadsheets in plain text |
| [2] | Learn more about tokens at What are Tokens? |